Fields help organize project data by displaying information as columns in the list view. They make it easier to categorize, track, and understand project details.
For example, for an employee onboarding project, fields like Assignee and Due Date show who is responsible for each task and what the deadline is for completing it.
Adding a new field
Click on Projects from the left-side pane.
Create a new project or open an existing one.
You can add a new field either from the project Settings or from the list view.
-
From project Settings:
1. Click on the Settings tab in the project. If the visibility for more than three tabs is enabled in Tabs, Settings will be present inside the More tab.
2. Click on the Fields card.
From list view:
1. Click on the + icon at the top right.
Click on Add new field.
A right-side pane appears.
Enter the field name, and select the field type.
Click on Save changes.
The new field will appear as a column in the project’s list view.
Reordering fields
You can also reorder the fields to match your preferred layout.
Click on Projects from the left side pane.
Create a new project or open an existing one.
Click on the Settings tab in the project.
Click on the Fields card.
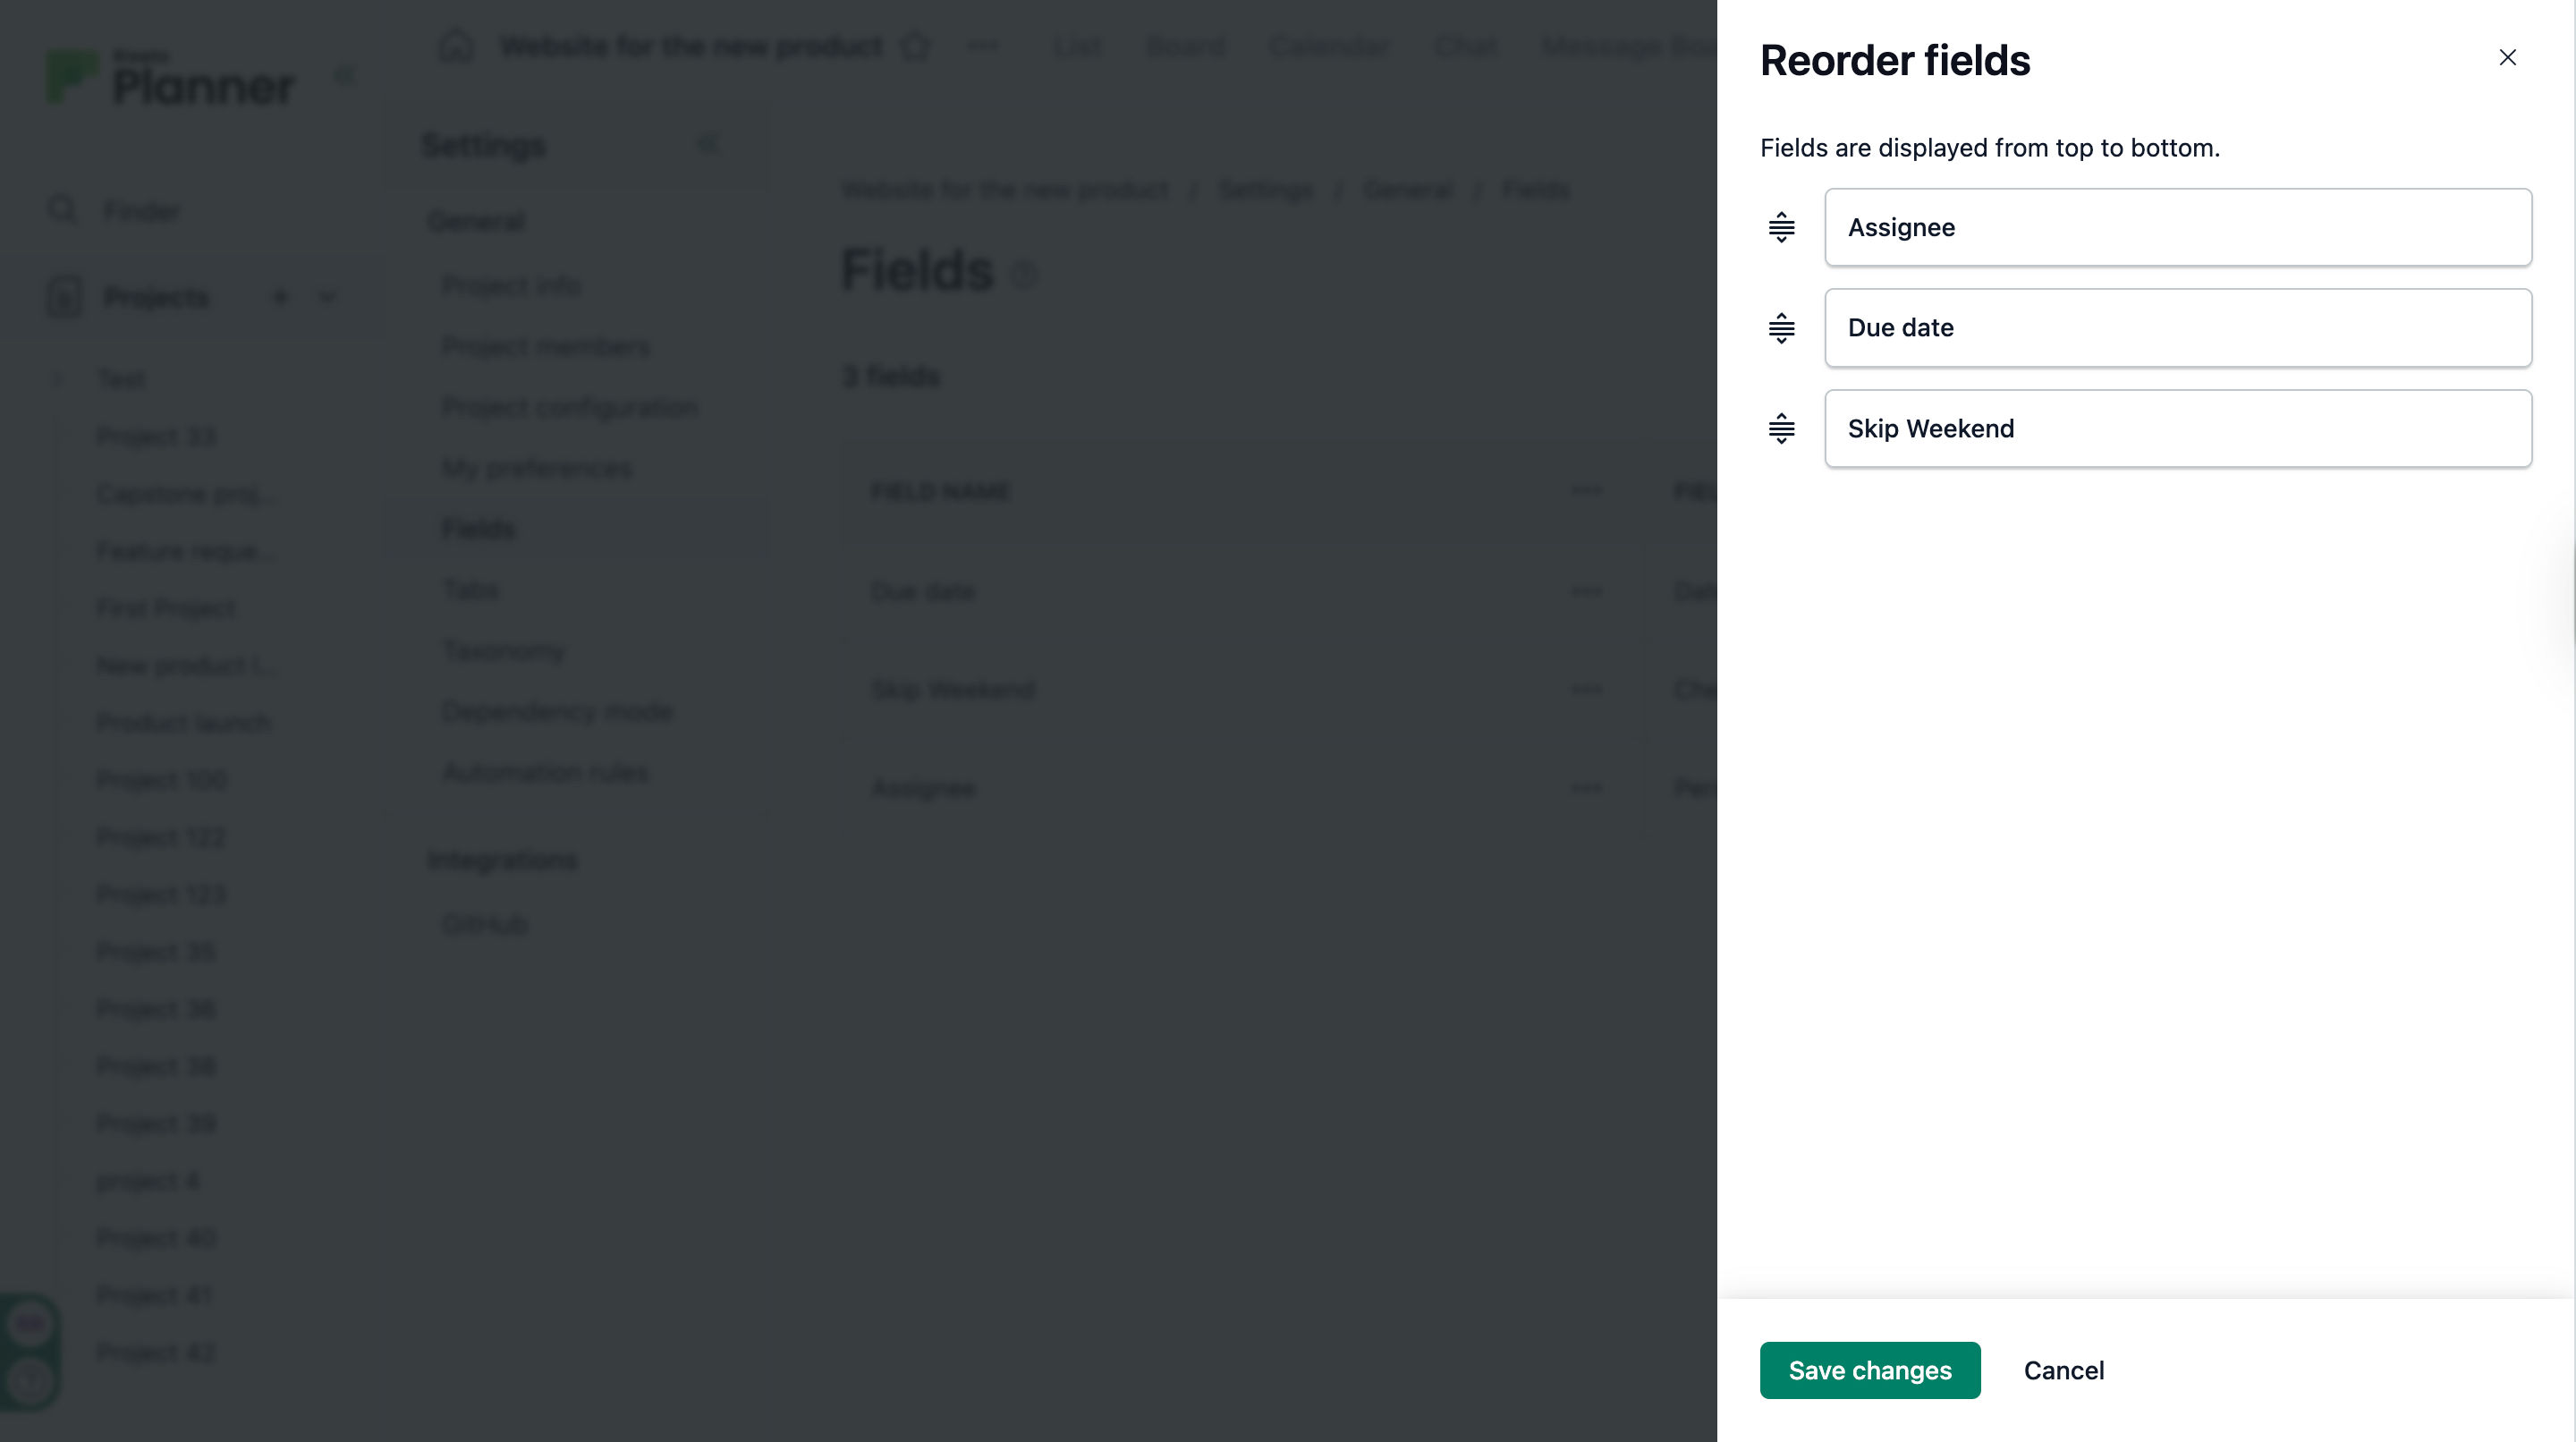
Click on the Reorder button in the Fields section.
A right-side pane appears.
Arrange the fields in your desired order.
-
Click on Save changes.